Mastering the Art of Flower Arranging: A Comprehensive Guide to Botanical Design
The Enduring Charm of Flower Arranging
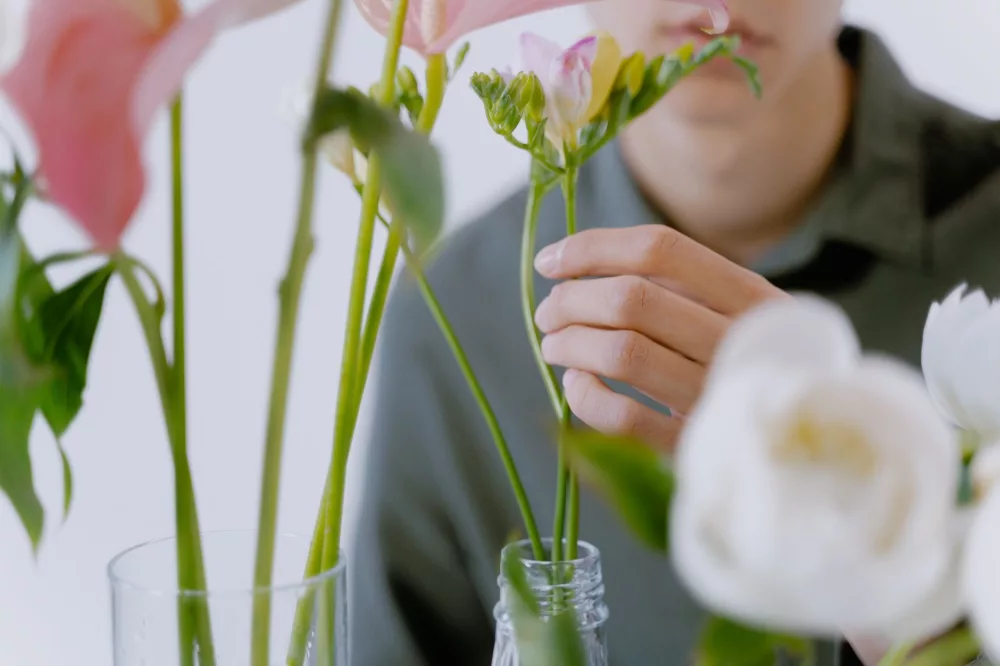
Honestly, when I think about something that truly brightens a space and lifts spirits, flower arranging immediately comes to mind. It’s more than just putting flowers in a vase; it's a creative expression, a way to connect with nature, and a skill that brings immense satisfaction. For centuries, across cultures, people have been drawn to the beauty of blossoms, meticulously arranging them to convey emotion, celebrate events, or simply enhance their surroundings. I've always found it fascinating how a simple bunch of flowers, with a little thought and technique, can become a stunning focal point, transforming an ordinary room into something quite extraordinary.
You know, for me, this isn't just a hobby. It's a living art form, where each bloom, each stem of foliage, plays a vital role in creating a harmonious and visually appealing composition. We’re not just stylists here; we’re sculptors using nature's own materials. Understanding the basic principles and elements of design helps you move past just 'plonking' flowers into a vase and actually craft something beautiful and balanced. It really makes a difference!
Why Bother Learning Floral Design?
- Enhanced Aesthetics: Turn everyday spaces into inviting sanctuaries.
- Personal Expression: Convey feelings, moods, or themes through your arrangements.
- Mindfulness: The process itself is wonderfully therapeutic and calming.
- Cost Savings: Create professional-looking displays for less than buying them pre-made.
- Thoughtful Gifting: Hand-arranged flowers make deeply personal presents.
Core Principles That Guide Our Hands
When I'm creating an arrangement, I'm always thinking about a few key principles. These aren't rigid rules, but more like guidelines that help ensure the final piece looks balanced and aesthetically pleasing. Trust me, once you get these down, your arrangements will just sing!
Balance: Not Always Symmetrical
Balance in floral design doesn't always mean perfectly symmetrical. While symmetrical balance—where both sides mirror each other—is classic, I often lean towards asymmetrical balance. This is where different elements, though not identical, still provide an equal visual weight. Think of a big, bold bloom on one side counterbalanced by a cluster of smaller ones and some textured foliage on the other. It keeps things interesting, doesn't it?
Proportion and Scale: Getting it Just Right
This one's crucial. Proportion refers to the relationship of parts to the whole and to each other. Scale, on the other hand, is about the arrangement's size relative to its surroundings. I always make sure the container, flowers, and foliage are in good proportion to each other, and that the whole arrangement doesn't overpower or get lost in the space it's destined for. A tiny arrangement on a huge dining table? Nope. A giant one on a small side table? Also not ideal. We want harmony here.
Rhythm and Movement: The Flow of Flowers
Rhythm is what guides the eye through the arrangement, creating a sense of movement. I achieve this through repetition of colors, forms, or textures, or by gradually changing the size or spacing of elements. Imagine your eye dancing from one focal point to another – that's rhythm! It adds so much dynamism.
Harmony and Unity: All Parts Working Together
For me, harmony is when all the elements—colors, textures, forms—come together to create a cohesive and pleasing whole. Unity is achieved when these elements feel connected, like they belong together. It's that feeling you get when an arrangement just works, with nothing feeling out of place or jarring. That’s what we’re aiming for, isn’t it?
Contrast: Adding That 'Pop'!
While harmony is important, a little contrast keeps things from being boring. I love using contrast to create interest and draw attention to certain elements. This could be contrasting colors (like vibrant orange against deep blue), contrasting textures (smooth petals next to rough foliage), or contrasting forms (spiky gladiolus next to round hydrangeas). It adds that bit of unexpected excitement.
Essential Tools and Materials You'll Need
You don't need a massive studio, but having the right tools makes the process so much smoother and helps your flowers last longer. I keep my kit pretty simple, but these items are non-negotiable for me.
- Sharp Floral Shears or Knife: Crucial for clean cuts that allow water uptake. Don't use kitchen scissors; they'll crush the stems!
- Floral Foam or Chicken Wire: For supporting stems and holding them in place, especially in larger or more complex designs.
- Watering Can or Spritzer: To keep everything hydrated.
- Vases and Containers: A variety of shapes and sizes is super helpful for different arrangements.
- Floral Tape and Wire: For securing stems, creating grids, or manipulating flowers.
- Flower Food: Those little sachets really do work wonders for longevity.
Picking Your Blooms: The Heart of the Arrangement
Selecting your flowers is arguably the most exciting part! I always go for freshness first. Look for firm stems, vibrant colors, and petals that aren't bruised or wilting. Don’t be afraid to gently touch them! Beyond freshness, I consider a few other things.
- Color Palette: Are you going for monochromatic, analogous, complementary, or a vibrant mix? Think about the mood you want to set.
- Texture: Mix smooth petals with rougher foliage, or delicate blooms with more robust ones to add depth.
- Form/Shape: Combine different shapes—round, spiky, airy, linear—to create visual interest.
- Longevity: Some flowers last longer than others. If you want your arrangement to endure, choose varieties known for their vase life. Carnations, chrysanthemums, and alstroemeria are real troopers.
Prepping Your Flowers: A Step You Can't Skip
I can't stress this enough: proper preparation is the secret to a long-lasting arrangement. It only takes a few minutes, but it makes all the difference.
- Remove Lower Foliage: Any leaves below the waterline in your vase will rot, contaminating the water and shortening your flowers' life. I always strip these off.
- Recut Stems: Using your sharp shears or knife, cut about an inch off the bottom of each stem at a 45-degree angle. This creates a larger surface area for water absorption and prevents the stem from sitting flat on the bottom of the vase. Do this under water if possible for maximum effect.
- Hydrate: Place your freshly cut and trimmed flowers in a bucket of cool water with flower food for at least a few hours, or even overnight, before arranging them. This 'conditions' them and helps them perk up.
Building Your Masterpiece: A General Approach
While every arrangement is unique, I usually follow a general flow. It helps me stay organized and build a solid foundation.
Step 1: Set Your Foundation
I start by preparing my container. If I'm using floral foam, I make sure it's fully saturated. For a vase, I might create a grid with floral tape across the opening, or use chicken wire, to help hold stems in place. This structure is super important for controlling where your flowers go.
Step 2: Establish Your Greens
Next, I add my foliage. These greens aren't just filler; they establish the basic shape and height of your arrangement. I often use a mix of different greens for texture and depth. They create a lush base and hide any mechanics.
Step 3: Introduce Your Focal Flowers
These are your showstoppers! I place my largest or most dramatic blooms first, usually aiming for one or two main focal points. They anchor the arrangement and draw the eye.
Step 4: Fill in with Secondary Flowers
Now, I add the supporting cast. These flowers complement your focal blooms, adding color and texture without stealing the show. I distribute them evenly, paying attention to rhythm and movement, and ensuring I don't create any 'holes' in the design.
Step 5: Add Filler and Finesse
Finally, I use smaller, airier flowers or delicate foliage to fill in any gaps, add depth, and create a sense of lightness. This is where I step back, turn the arrangement, and adjust stems. Sometimes, a tiny tweak makes all the difference. I'll snip off any straggly bits or rearrange a stem that isn't quite sitting right.
Keeping Your Blooms Beautiful
To enjoy your hard work for as long as possible, a little ongoing care is essential. I always recommend:
- Change the Water Daily: Fresh, clean water is vital. Recut stems every few days too.
- Keep Out of Direct Sunlight: Heat and harsh light will make flowers wilt faster.
- Away from Fruit: Ripening fruit releases ethylene gas, which can cause flowers to age prematurely.
- Add Flower Food: Replenish the nutrients with each water change.
Flower arranging is truly a journey of discovery. Don't be afraid to experiment, break a 'rule' or two, and let your creativity flow. Every arrangement you make will teach you something new, and with each one, you'll gain confidence and refine your personal style. It's a wonderful, rewarding skill that brings so much joy, both to the creator and the beholder. So go on, get your hands dirty, and start creating something beautiful!
About Editorial Team
Senior columnist and culture critic specializing in architectural designs, emerging high-growth systems, and contemporary philosophies.